Growing Dahlias Guide

Anatomy of a Dahlia Tuber: the eye, neck and body work together to make a viable plant
Anatomy of Dahlia Tubers
Dahlia tubers vary widely in shape and size, but all viable tubers share three essential parts that work together to produce a healthy plant: the eyes (or crown), the tuber body, and the neck.
Eyes are the growing points where new vegetative growth begins.
The tuber body stores energy and nutrients that fuel early growth, much like a seed potato or other tuber crop.
The neck connects the tuber body to the crown where the eyes are located.
Being able to correctly identify and assess these three parts—especially the eyes—is essential for successfully dividing dahlias and increasing your stock. Not every tuber body connects to a neck with a viable eye above it, which makes it easy to end up with “tubers” that will not grow. All three parts must be present, intact, and healthy in order to produce a robust plant.

Dahlias, potted up and sprouting in the greenhouse
Getting a Head Start
Dahlias can be pre-sprouted to improve early-season success. To do this, bring tubers out of storage and into a space where temperatures remain above 60°F for a couple of weeks. As they warm, you’ll see the eyes begin to swell—a clear sign the tubers have woken up and are ready to grow.
If you have the space, dahlias can also be potted up about a month before planting outdoors. At our farm, we pot up roughly two-thirds of our dahlias each year to get a head start on the season. To do this, we fill pots with soil, place the tuber so the eyes sit just above the soil line, cover lightly, and water sparingly.
After about a month, the plants develop strong, healthy leaves. Once outdoor temperatures allow, we move them outside to harden off before planting in the field. At planting time, we bury part of the growing stem so the tuber is fully covered.

Growing dahlias on raised plastic beds at our old farm
Planting Dahlias
Plant tubers on their side 4”–6” deep, spacing them 12”–18” apart. We plant most of our dahlias at 18”, while larger dinnerplate varieties—such as Café au Lait—are spaced at 24”.
Choose a well-drained site rich in organic matter that receives at least eight hours of sun per day. Dahlias are not frost-hardy, so even if the forecast looks favorable, we wait until mid- to late May to plant outdoors. Soil temperatures should be close to 60°F.
Because dahlias are prone to rot—especially in cool, wet soil—it’s important to avoid planting into saturated conditions. Once planted, do not water tubers unless the soil is unusually dry. Wait to water until sprouts have emerged.
Pinching and Topping
When plants reach about 12 inches tall, we pinch back roughly half of the plant, leaving 3–4 pairs of leaves. This encourages branching and results in a greater number of flowering stems throughout the season.
Preparing Your Site
Before planting, we amend our beds with compost and a balanced 5-4-3 organic fertilizer. At planting time, we add a couple of tablespoons of bonemeal to each hole to support root development and flowering.

One of our dahlia fields at our home farm. At this point in our production, we use landscape fabric and drip tape and set out 6 week-old plants in May.
Dahlias showing the use of hortanova trellising
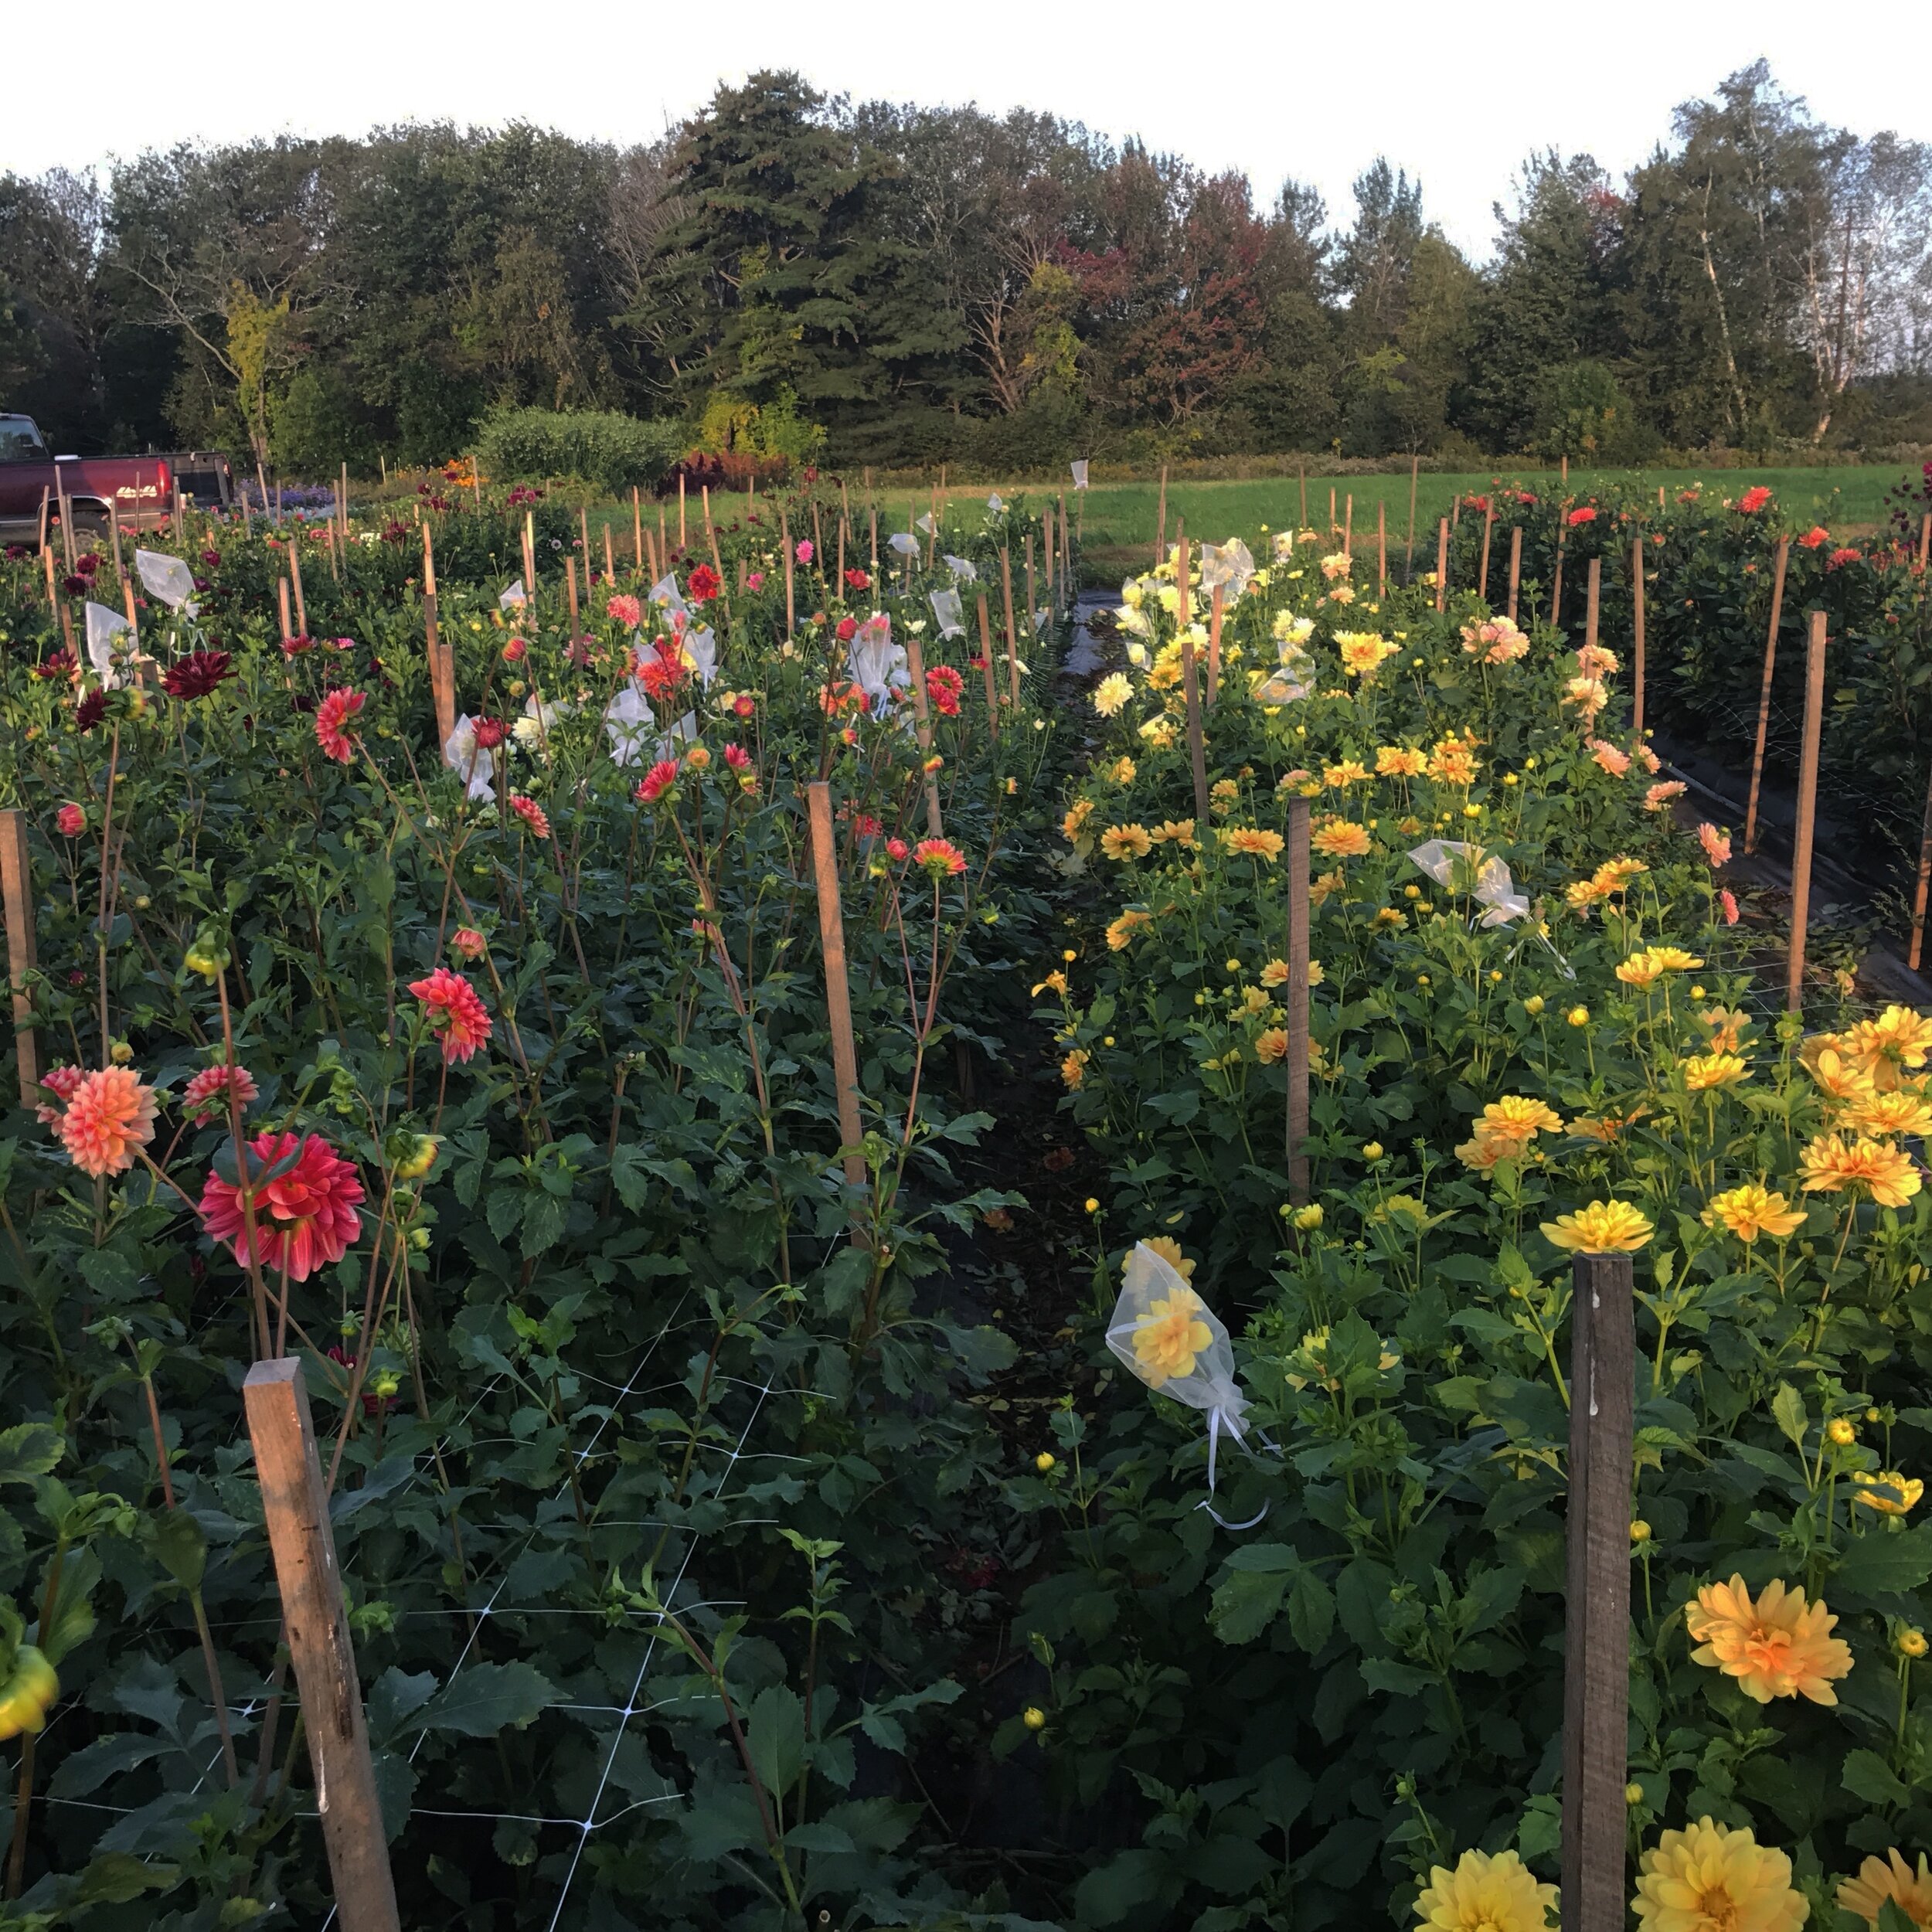
Support and Trellising
Dahlias have hollow stems and require support. Without trellising, plants can collapse under the weight of their blooms or snap during strong winds.
For long rows, we recommend horizontal netting or a basket-weave system using twine and sturdy stakes—the latter is our preferred method. In home gardens, a single bamboo stake per plant works well.
Foliar Feeding
Dahlias are a long-season crop and need more nutrition than their initial fertilizer application can provide. From June through September, we apply a fish emulsion/seaweed foliar feed every two weeks. This supplies supplemental phosphorus and potassium without adding excess nitrogen, resulting in stronger plants and more abundant flowering.
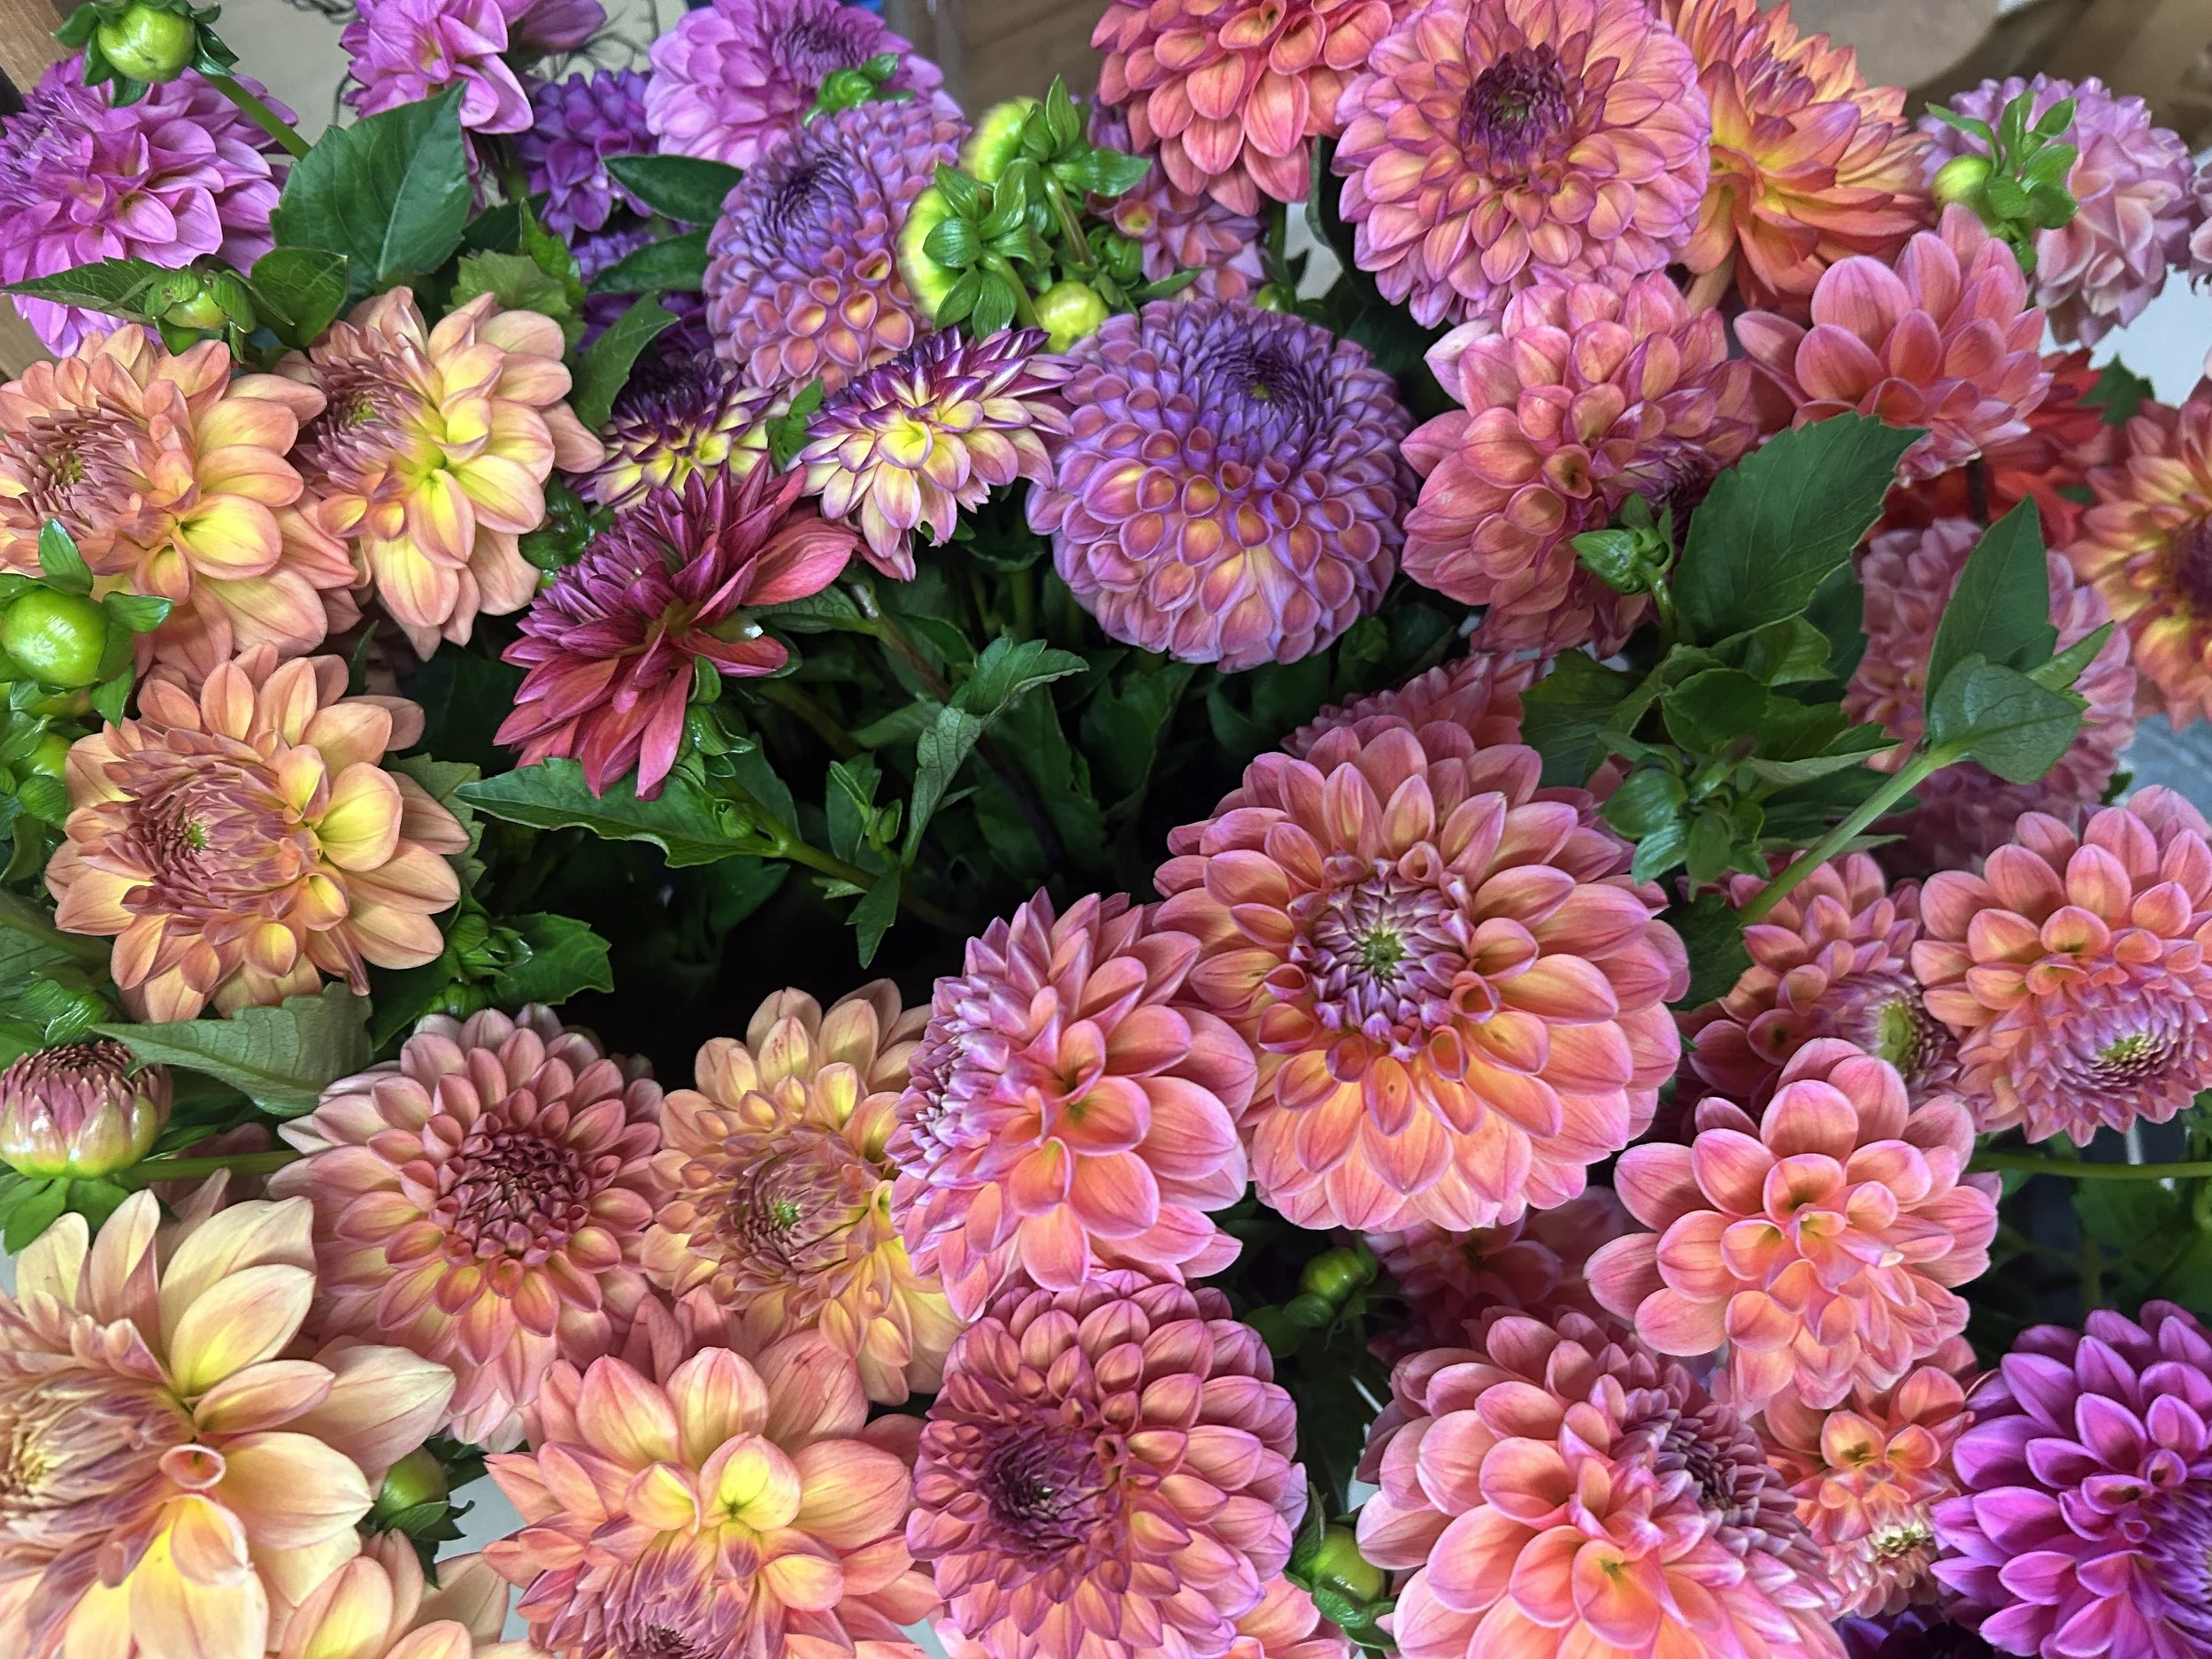
Harvesting Dahlias
Harvest dahlias in the morning before the heat of the day sets in, and place stems into clean water immediately. Flowers should be cut when they are nearly fully open—when the back petals are almost flat or still slightly tucked. If the back petals are fully flared or drying, the flower should be deadheaded instead.
Cut stems deeply, just above a leaf node, aiming for stem lengths of 18”–24” (or proportionally shorter on smaller plants). Cutting short encourages shorter future stems; cutting long encourages longer stems.

Vase Life
Dahlia vase life typically ranges from 3–5 days, depending on flower size and form. Ball varieties tend to last the longest and are excellent for bouquets and market sales. Dinnerplate and wide-petaled varieties are showstoppers but lose moisture more quickly, making them best suited for weddings and custom arrangements.
Post-harvest handling is just as important as variety selection. After harvest, we transfer dahlias into fresh water with a transport or holding solution before placing them in the cooler. For retail sales, we also use a gerbera chlorine tablet to maintain water cleanliness—key to maximizing vase life.
